
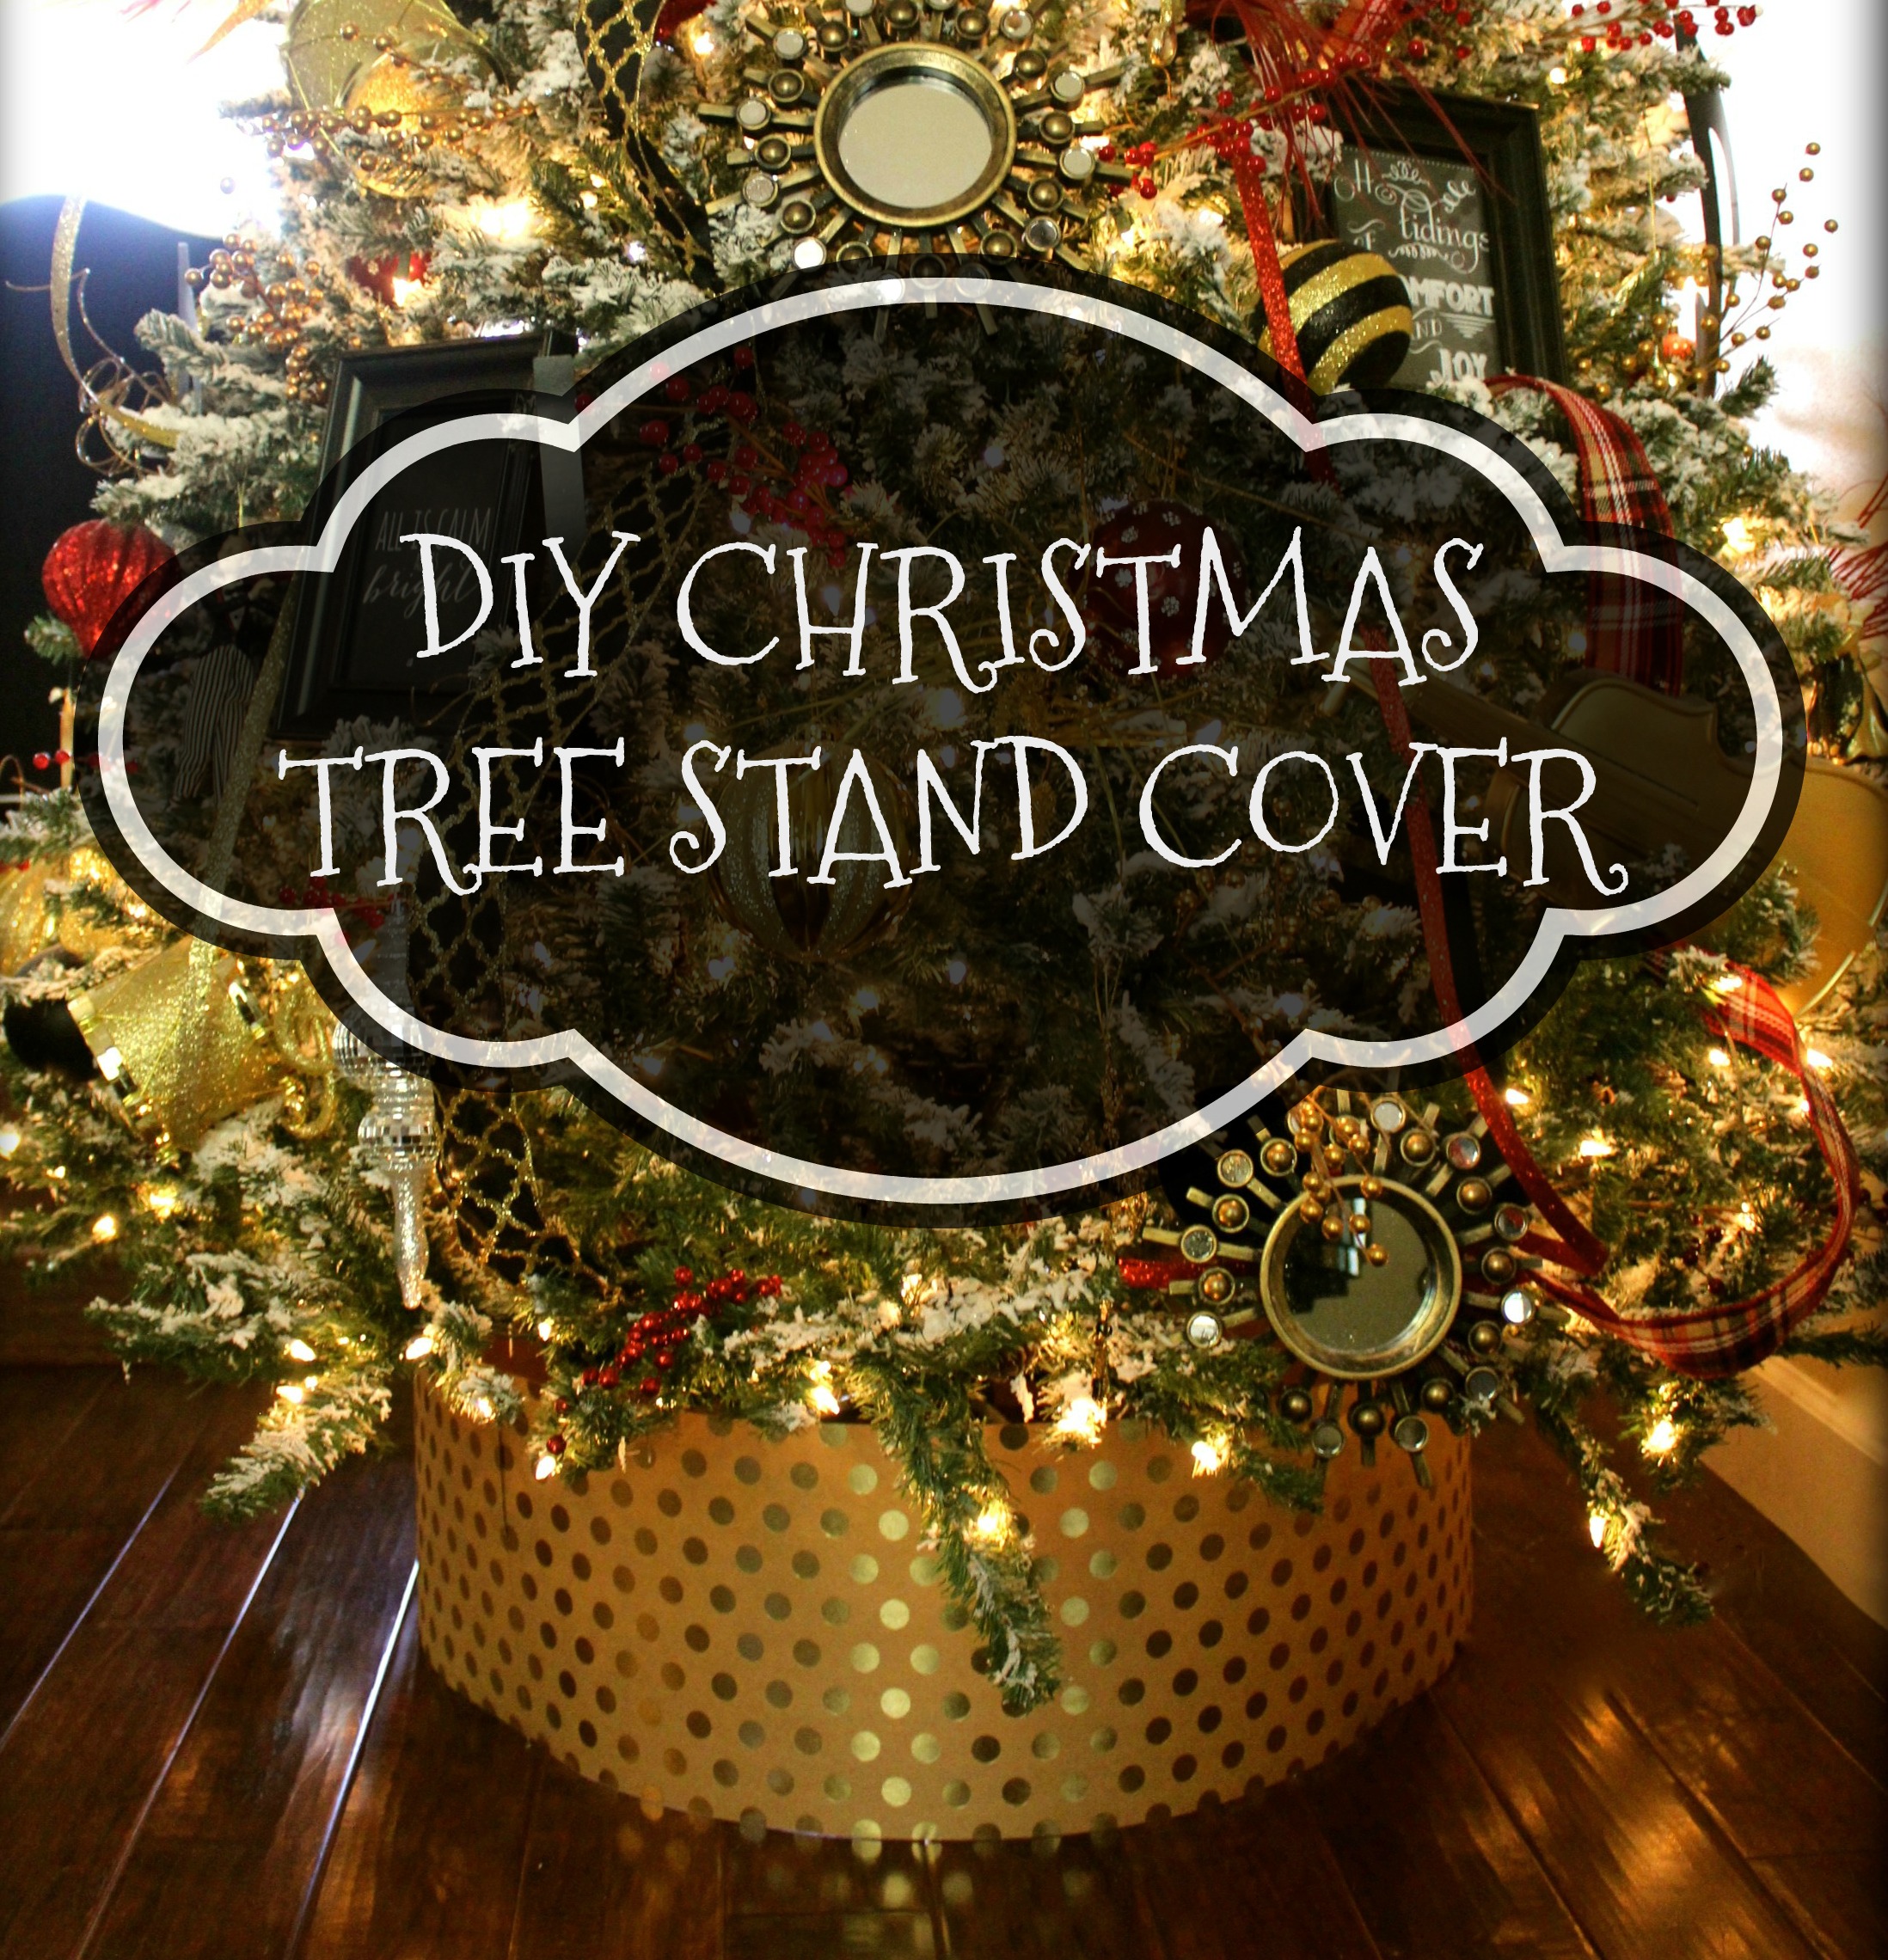
So, I am in love with the tree stands/tree stand covers of late. I know you’ve seen them, the galvanized pails, wood crates, and huge baskets. I love the clean look that comes with them and I love that I don’t have to be constantly adjusting and repositioning like I would a tree skirt. With four boys and two dogs running crazy around here that can be an exhausting task. In my family room I made the switch and used wooden crates to place our smaller Christmas trees in. However, for my main tree in the living room I need something huge to fit the base of our tree and its stand. At first I planned to build a stand for it but I have the issue of having nowhere to store something of that size in the off season. I have absolutely no room left in the garage. None. So, until I can have another garage built or add on storage unit of some kind I had to figure something else out. This is my cheap, easy, disposable if you want, creation (I rolled mine up and stored it with my ornaments last year and it was perfect again when I took it out for this year).


So, Can you tell what it is made from? Its poster board. You know, like you do your kids school projects on or where you advertise your upcoming garage sale. There a couple of good things about poster board, it’s cheap and It comes in all kinds of colors and textures. I got mine at Hobby Lobby and I bought two pieces to fit around my tree stand.

First things first when it comes to starting on your tree stand cover. Measure the height from the floor up to the bottom of the last tree branches on your tree. Make sure you leave a little wiggle room so the branches won’t be totally resting on the poster board but not too much wiggle room or you will be able to see a gap and the tree stand you are trying to cover up. Once you have your measurement mark it on the back of your poster board with a yard stick or level so you can make sure your cuts will be as straight as possible so it will sit properly on the floor.


Once you have marked your measurements twice on each piece of poster board make your cuts. Then lay them out straight end to end. Get your glue gun, if you don’t have a glue gun you could use tape. If your poster board is patterned be careful to line up the patterns before you start gluing. My ends overlap about a half an inch to an inch so I could line up my pattern. Glue close to the edges a thin line and quickly place together before the glue sets.


Ok, If you have them all together and the glue has set, you are pretty much finished and ready to place your cover around your tree stand. However, if you wanted to cover your seams or just fancy your cover up, you have a ton of options…You could cover your new stand cover with fabric, wrapping paper, fur, glitter, whatever. Then just wrap your finished product around your tree and secure the on the inside of the tree stand cover with tape, or you can use a bobby pin and a document clip like I did (don’t judge me too harshly it does the job and is in the corner up against the wall where no one will ever see it besides you guys). Thanks for stopping by and I hope you enjoy your new tree stand covers.


